

How to Assemble PVC Pipe Projects
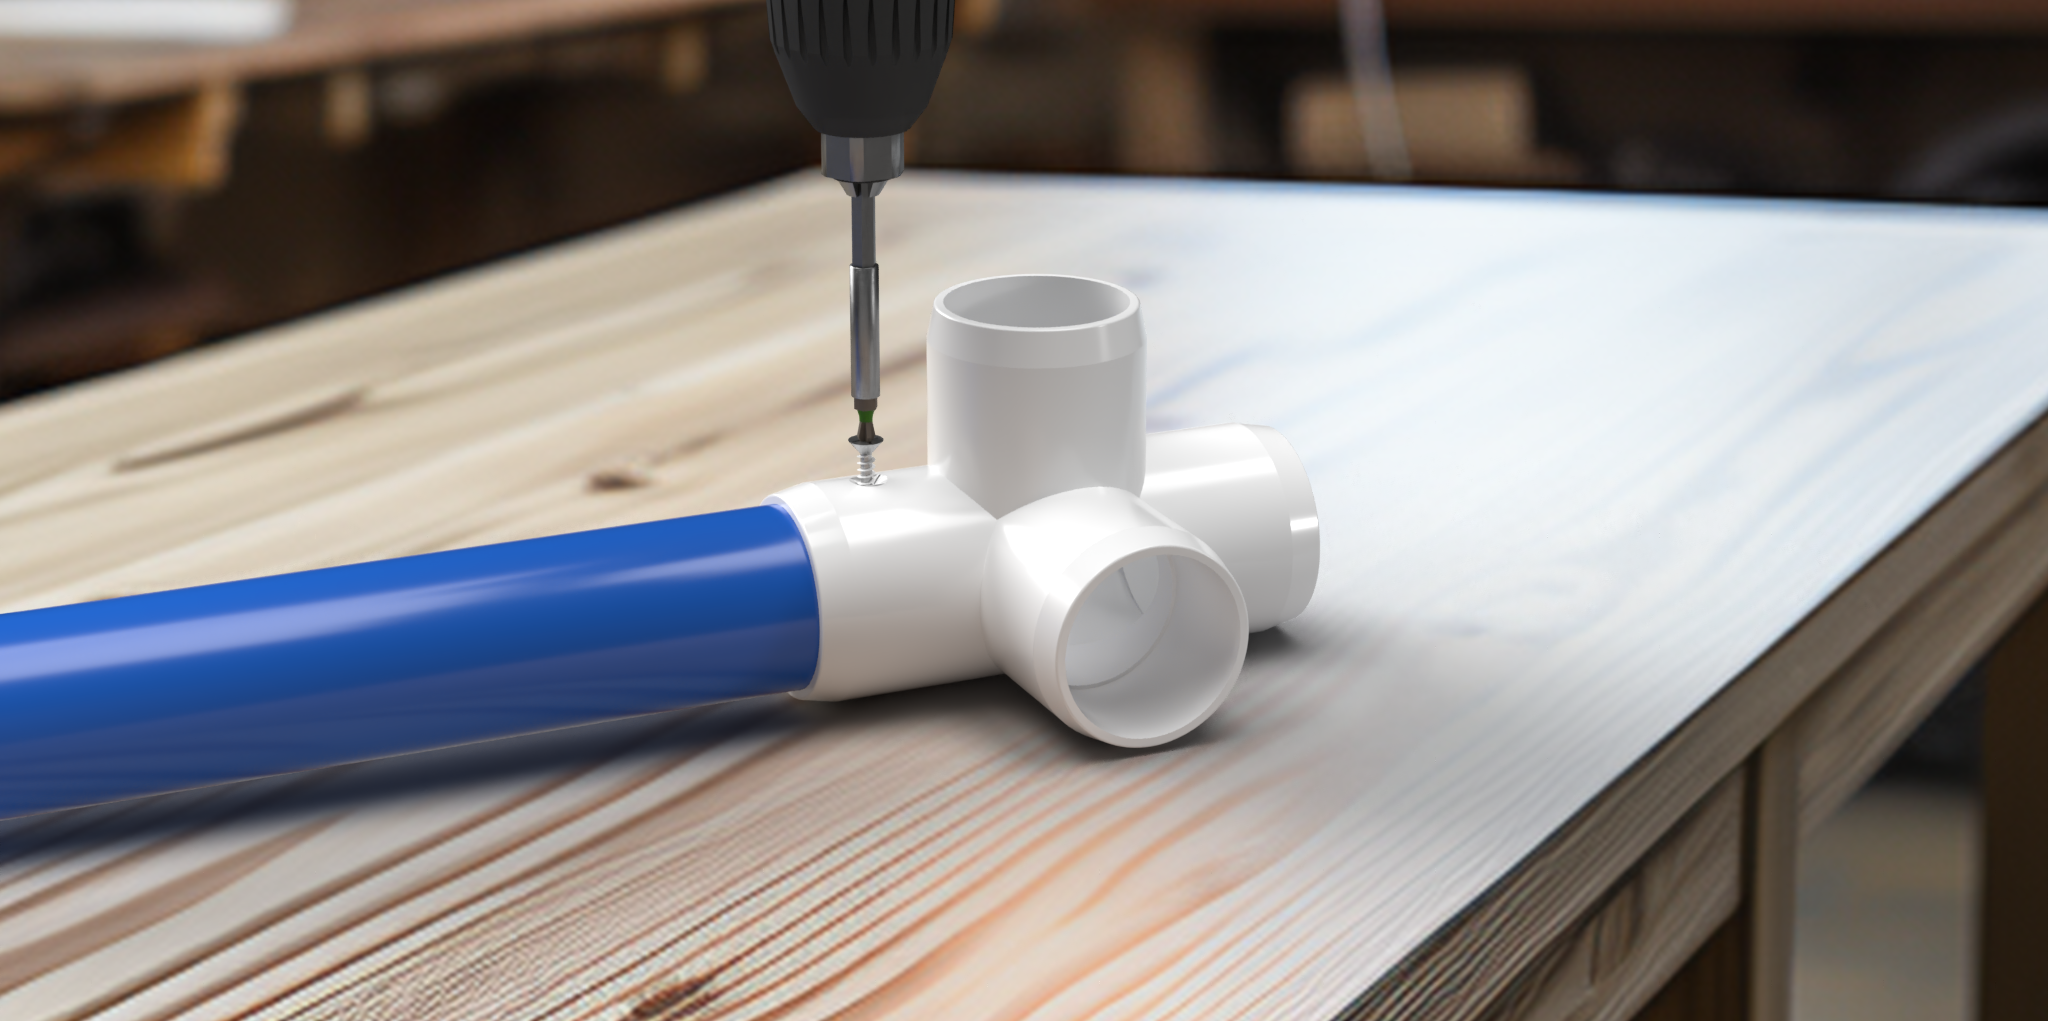
What Is the Best Way to Assemble PVC Pipe?
The best way to assemble PVC pipe depends on how your project will be used. PVC cement creates a permanent weld and is the strongest option for structures that carry weight. Screws, PipeRivets, or Quick Release Pins make a secure mechanical joint that you can take apart later. The push-and-set method relies on the fit of the pipe and fitting alone, so it is only a temporary connection.
Whichever method you choose, the steps are the same at the start: confirm your pipe size, cut and deburr your pipe, and dry fit the project before you make any joint permanent. This guide covers safety, how to choose a method, step-by-step instructions for each one, how to take PVC apart, and how to fix common assembly problems.
Which Assembly Method Should You Use?
Use this table to match the method to your project. If your build will carry weight or needs to stay together permanently, use PVC cement. If you may need to take it apart, use screws, PipeRivets, or Quick Release Pins. If you are still testing a design or need a quick temporary build, push-and-set is the fastest option.
You can also combine methods. For example, cement the joints that never need to move and fasten the ones you may want to disassemble later.
| Method | Best For | Take It Apart? | Tools and Supplies | Time | Strength |
|---|---|---|---|---|---|
| PVC cement | Permanent structures and anything that carries weight | No, the joint is a permanent weld | PVC cement with dauber | Sets in 30 seconds; handle after 2 minutes; full cure in 6 hours | Strongest |
| Fasteners (screws, PipeRivets, Quick Release Pins) | Secure joints you may need to disassemble, or added security | Yes, with screws and Quick Release Pins | Drill or driver, rubber mallet | Minutes per joint | Strong, but not for high torque or repeated movement |
| Push-and-set | Temporary builds, testing a design, light display pieces | Yes | Rubber mallet, or wood block and hammer | Fastest | Temporary only; fit varies |
Need a lot of pipe cut to length? FORMUFIT Direct offers bulk quantities and custom-cut options, so your pipe can arrive ready to build.
Safety First
Some assembly methods use drills and power tools, and PVC cement is a chemical that can cause harm if it is handled carelessly. Read, understand, and follow all of the safety instructions for your tools and for your PVC cement.

Protect Your Hands
Always know where your hands are when drilling. Keep them clear of the area being drilled, and clamp or brace the pipe instead of holding it with your fingers near the bit.

Protect Your Eyes
Wear safety glasses or goggles when drilling or driving screws into PVC. They protect your eyes from pipe fragments and loose screws.

Protect Your Lungs
Wear a mask or respirator when drilling PVC, which can release small particles that irritate your lungs and throat. PVC cement fumes are also strong, so always use it in a well-ventilated area. For more information, see our Safety Data Sheets.
Preparing to Assemble PVC Pipe
A few habits before you connect anything will make your project fit together the first time, whichever method you choose.

Confirm Your Pipe Size
Fittings only work with the matching pipe size. If you are not sure what size you have, use our PVC Pipe Size Guide before you start. For exact measurements, see our PVC Pipe Size Dimensions Chart.

Cut and Deburr Your Pipe
Square, clean cut ends help the pipe seat fully in the fitting. Burrs can keep the pipe from reaching the stop inside the socket. See our guide on how to cut PVC pipe for tools and deburring steps.
Dry Fit First
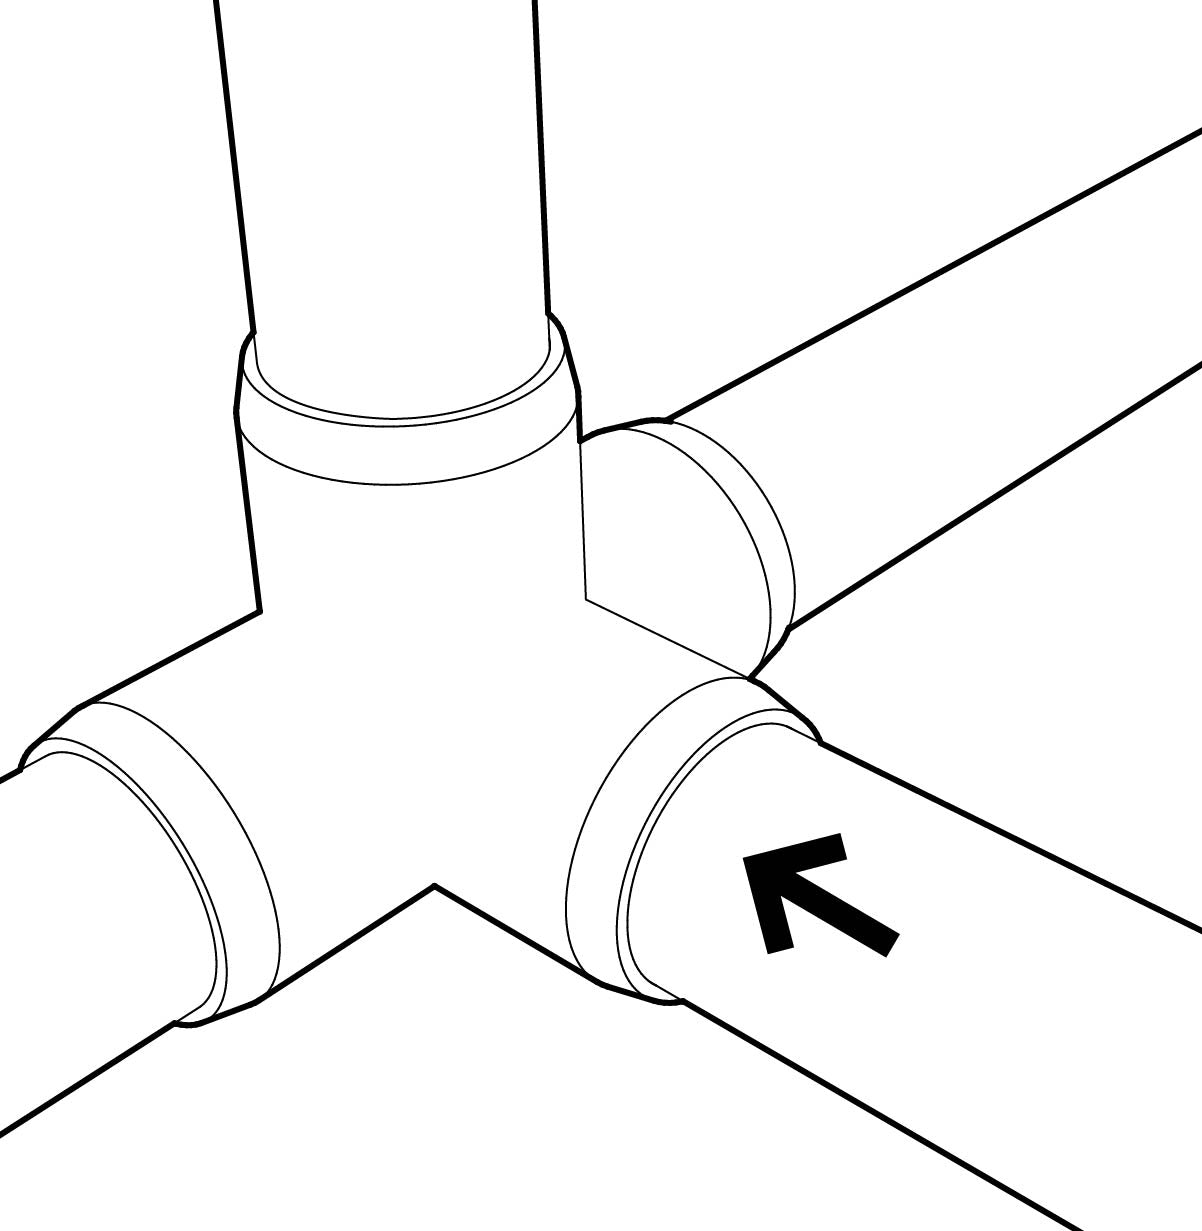
Dry fitting means temporarily assembling the project without cement or fasteners. It confirms that every pipe is cut to the right length and every fitting is in the right position. A dry fit is vital before using PVC cement, because the cement sets in about 30 seconds and leaves no room for error. Apply baby powder inside the fittings to make disassembly easier, and clean off any residue before you apply cement. To separate a dry-fit joint, twist the pipe by hand or with a strap wrench.
Seat the Pipe Fully
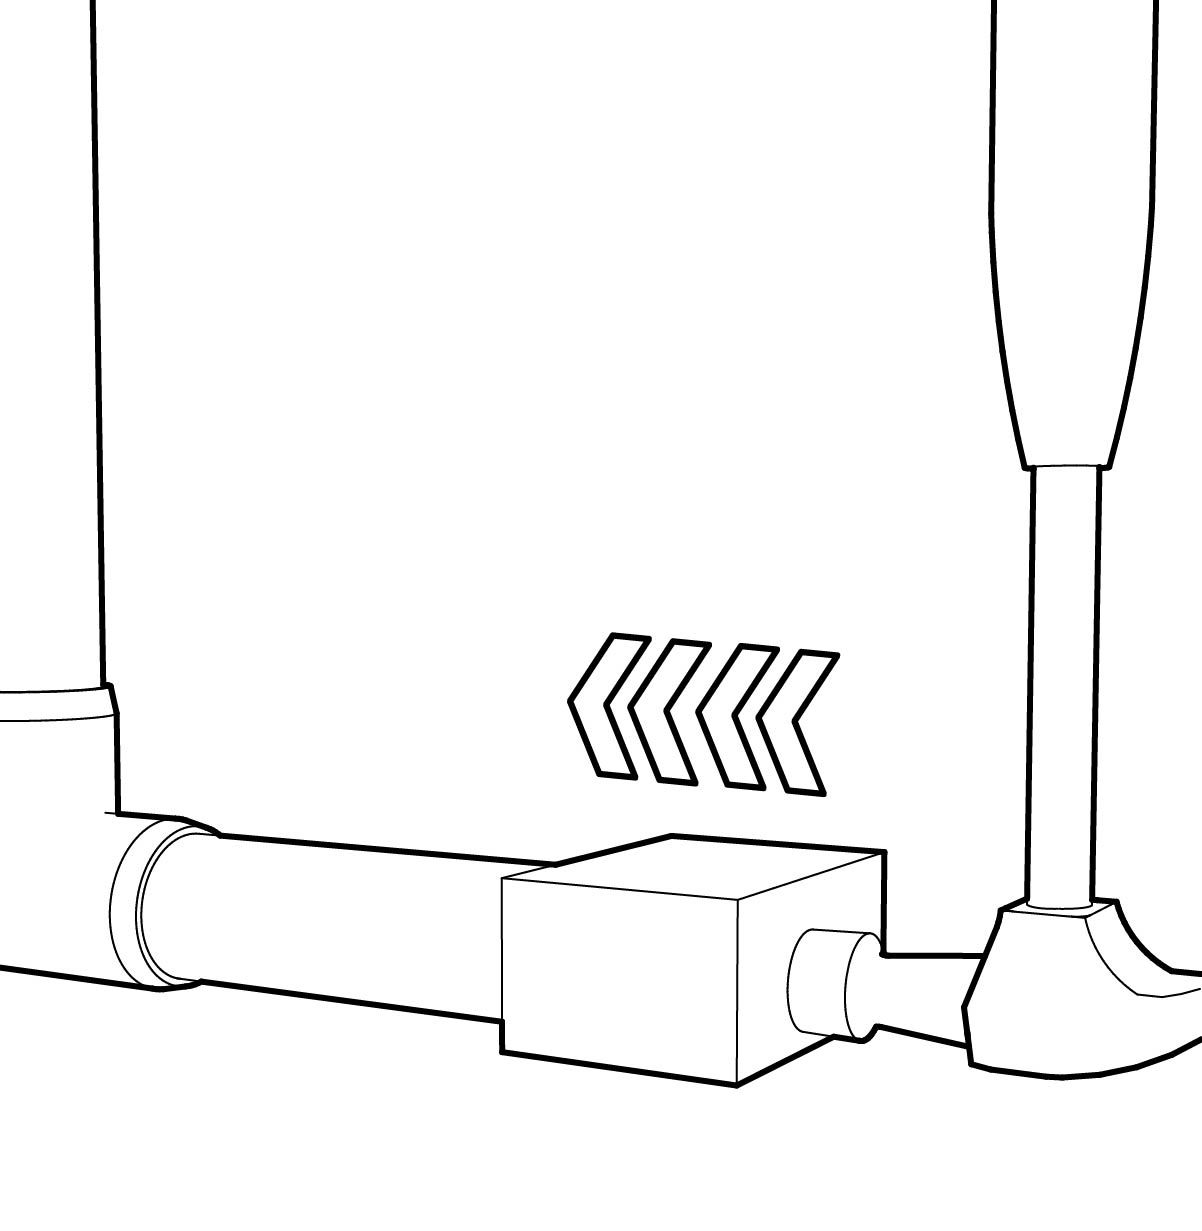
Seating means the pipe is pushed all the way into the fitting until it reaches the detent, the internal ridge or stop inside the socket. Use a rubber mallet, or a wood block and hammer, to gently tap the opposite end of the pipe until it stops. The pipe will move deeper as you tap, halt at the detent, and make a different sound when it is fully seated.
Check Your Frame for Square
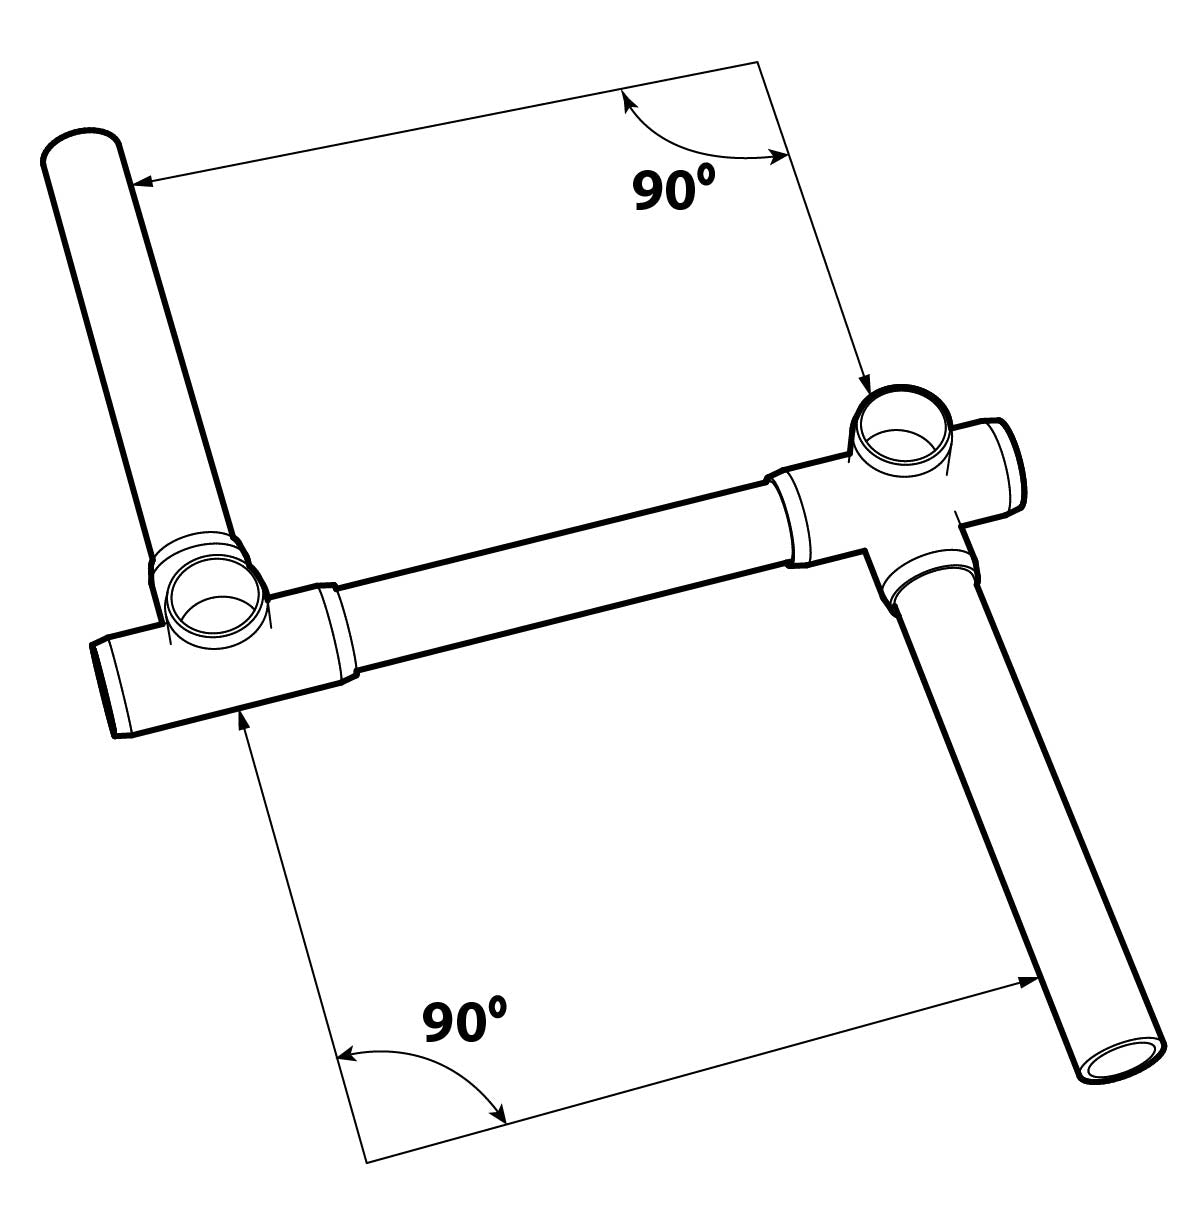
Checking that your structure is square matters most when your project has parallel and perpendicular sections that a specialty fitting does not guide. With PVC cement, make adjustments within 30 seconds of application. With fasteners, confirm the frame is square before you drill. Lay the structure flat and press down on its components to level them, use a straight edge to compare perpendicular sections, or set it on a level surface and use a bubble level.
How to Assemble PVC Pipe with PVC Cement
Apply PVC Cement
Using the dauber inside the can, apply a small amount of PVC cement to the inside of the fitting and to the very end of the outside of the pipe. Apply cement only where the fitting and pipe will touch.
Shop PVC Cement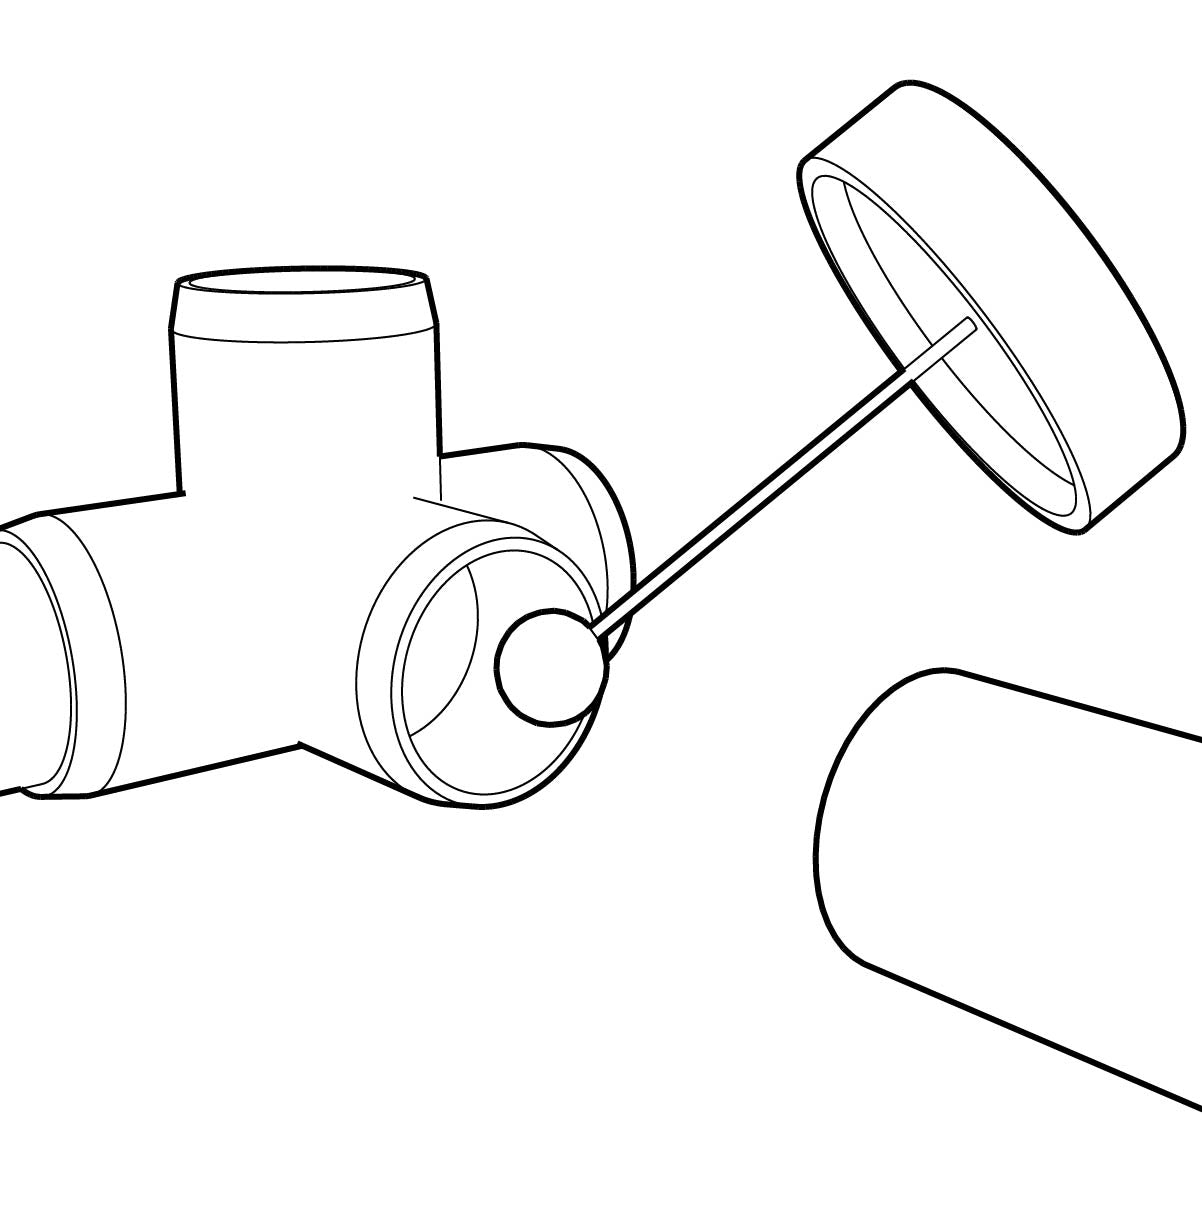
Seat the Pipe and Hold
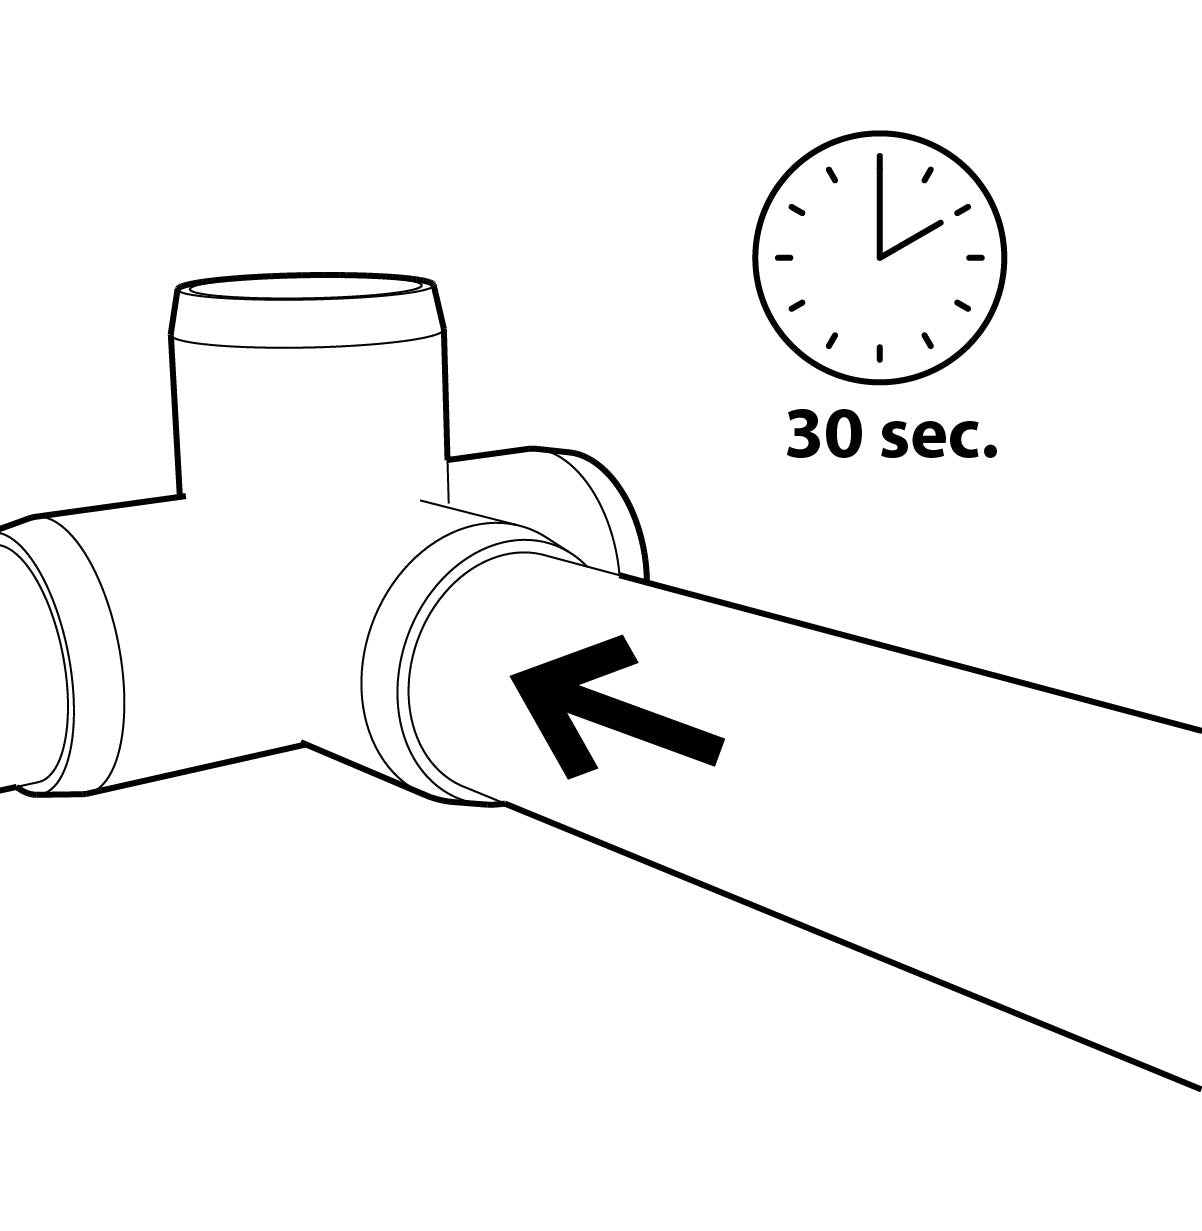
Quickly insert the pipe into the fitting until it is fully seated against the detent. Hold the pipe and fitting together firmly for 30 seconds.
Check for Square Before It Sets
If your project needs to be square, check it immediately after seating and make any adjustments within the 30 seconds before the cement sets.
Allow to Cure
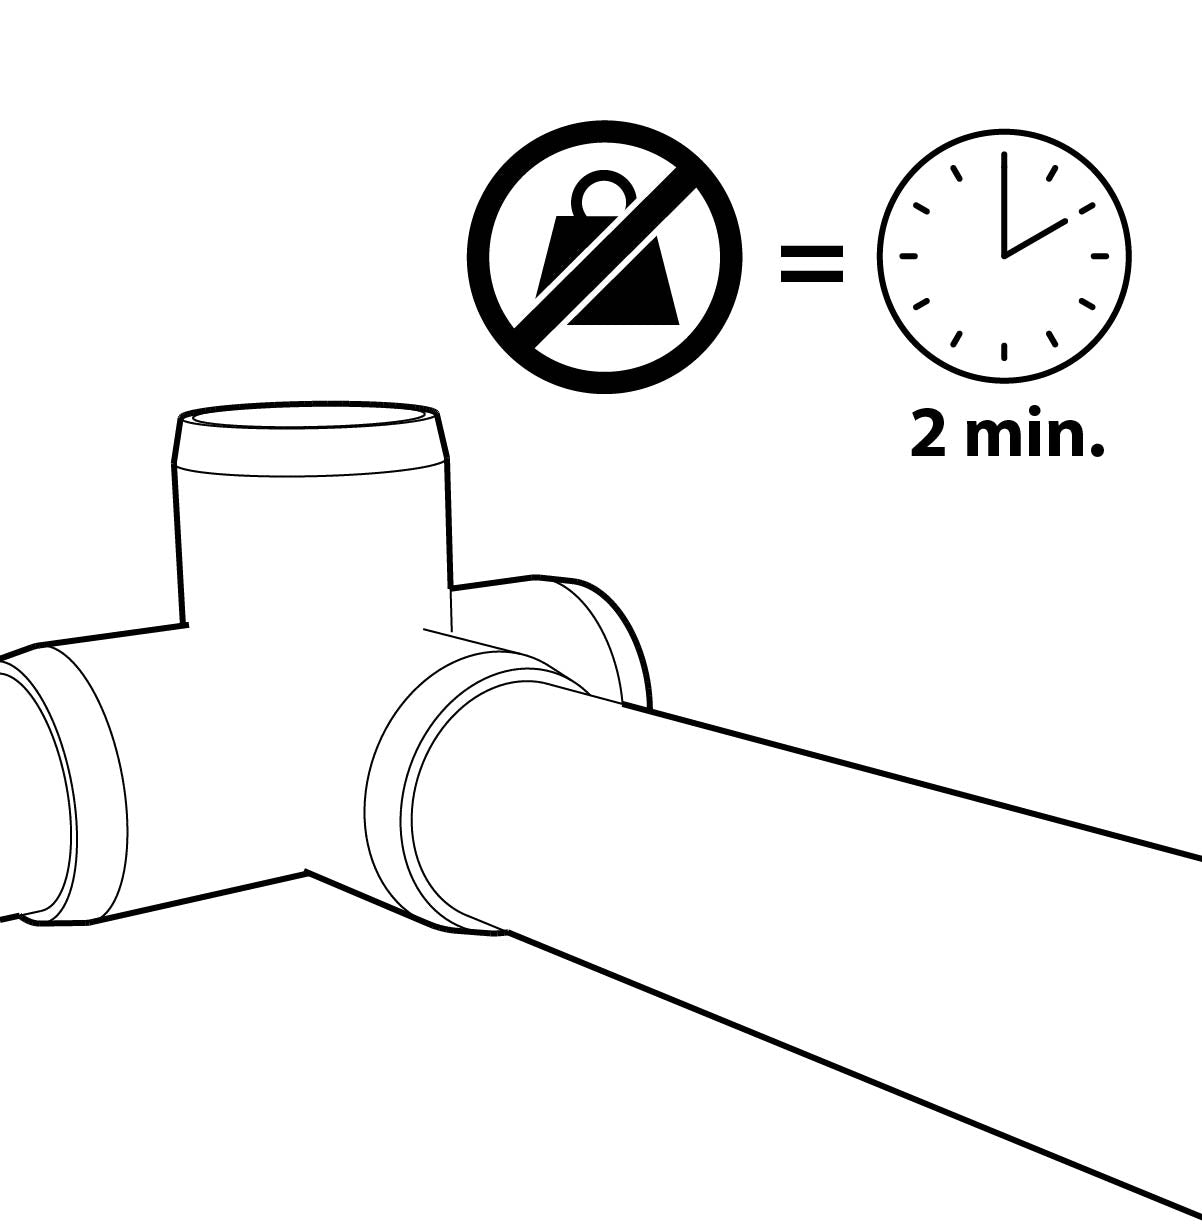
Let the joint set for at least 2 minutes before you handle it, and allow a full 6 hours of cure time before the joint carries weight or load. Cure time may be longer in cold or humid conditions. While you wait, you can join other fittings in the structure.
How to Assemble PVC Pipe with Fasteners
Seat the Pipe
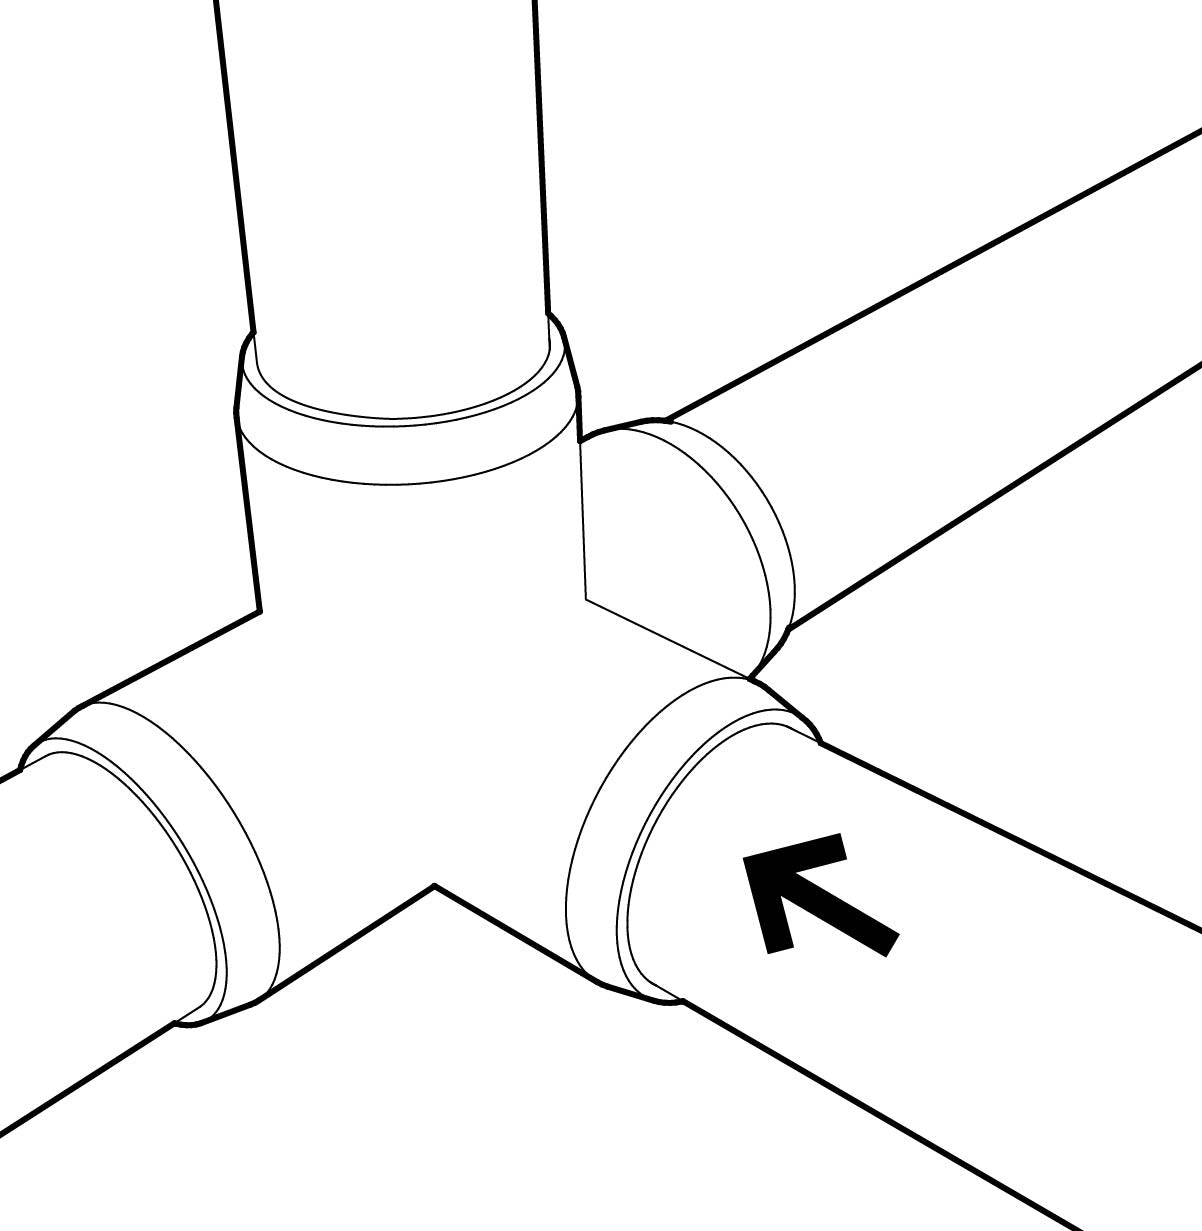
Insert the pipe into the fitting. Use a rubber mallet, or a piece of wood and a hammer, to tap the pipe until it is fully seated against the detent inside the fitting.
Drill a Pilot Hole (Optional)
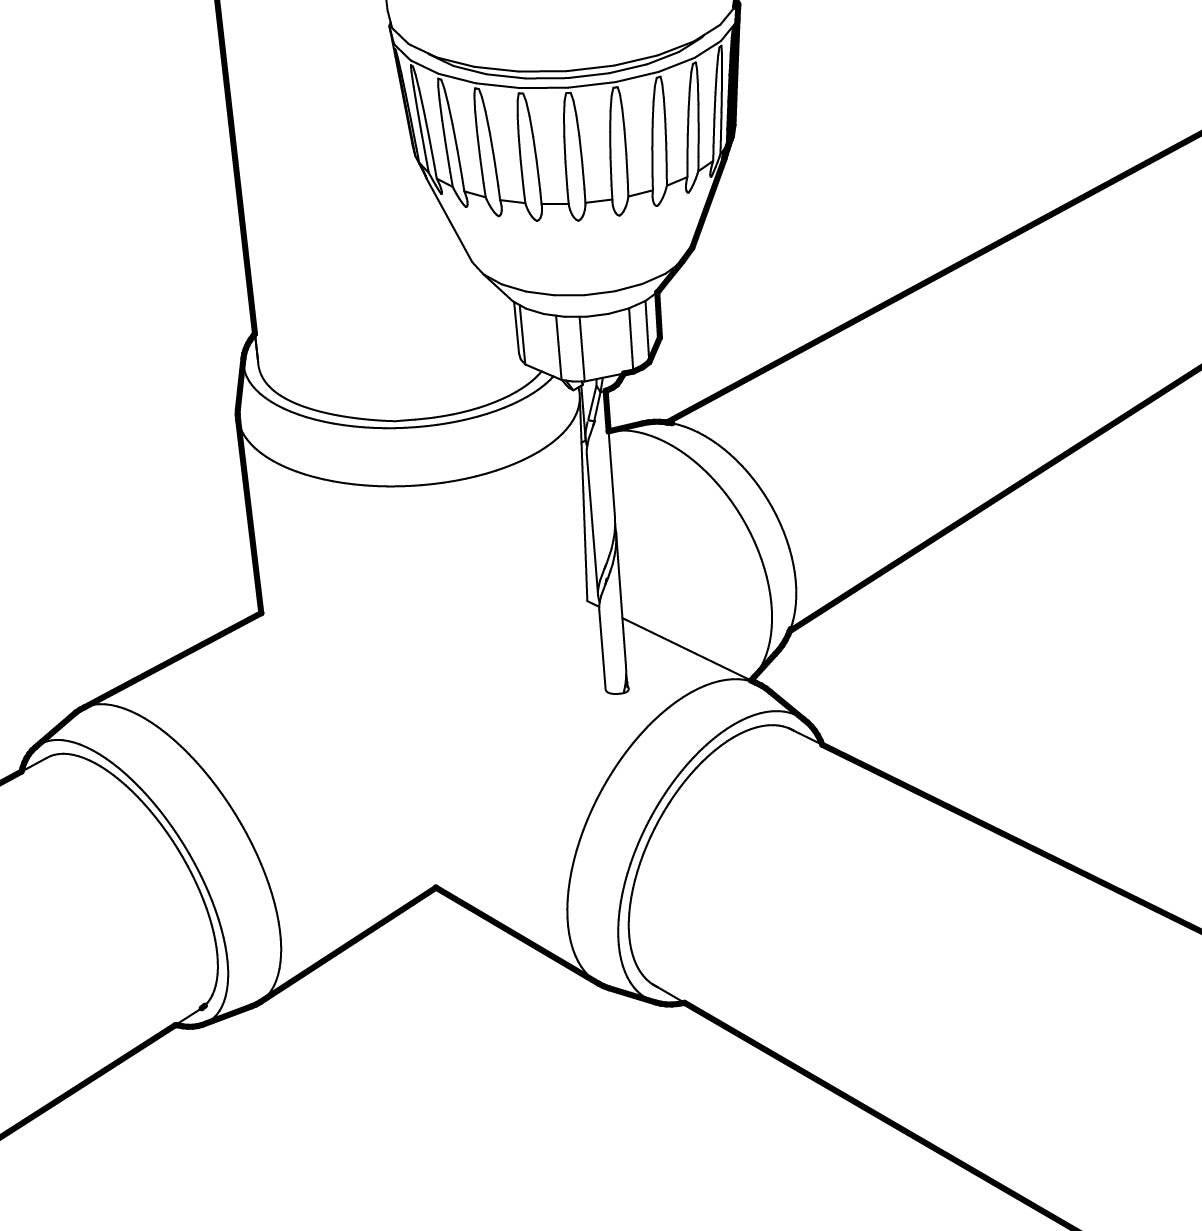
On one side, drill a small hole about 1/2" to 3/4" from the open socket end of the fitting, through both the fitting and the pipe. A pilot hole is not required if you are using self-drilling screws, or if you drive the screw in forcefully. Driving a screw without a pilot hole forms a small mound of displaced material under the screw.
Drive the Screw
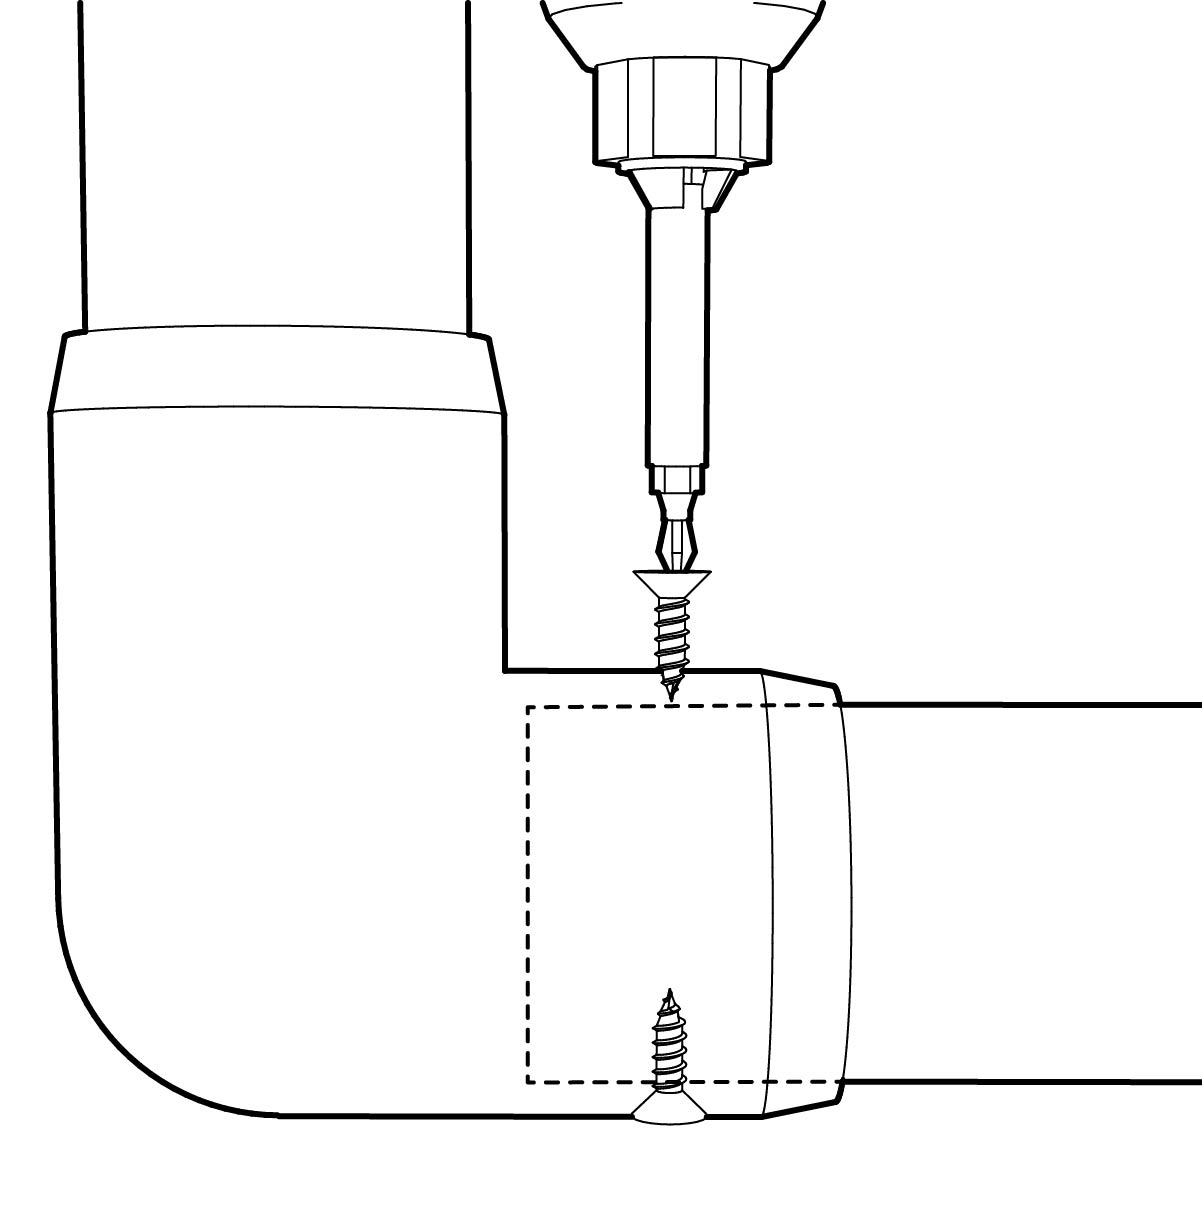
Drive the screw into the hole so it passes through both the fitting and the pipe, with enough pressure to hold them together securely. Use a screwdriver or drill, and do not over-tighten, which can damage the fitting or pipe.
Learn About PipeRivets and Quick Release Pins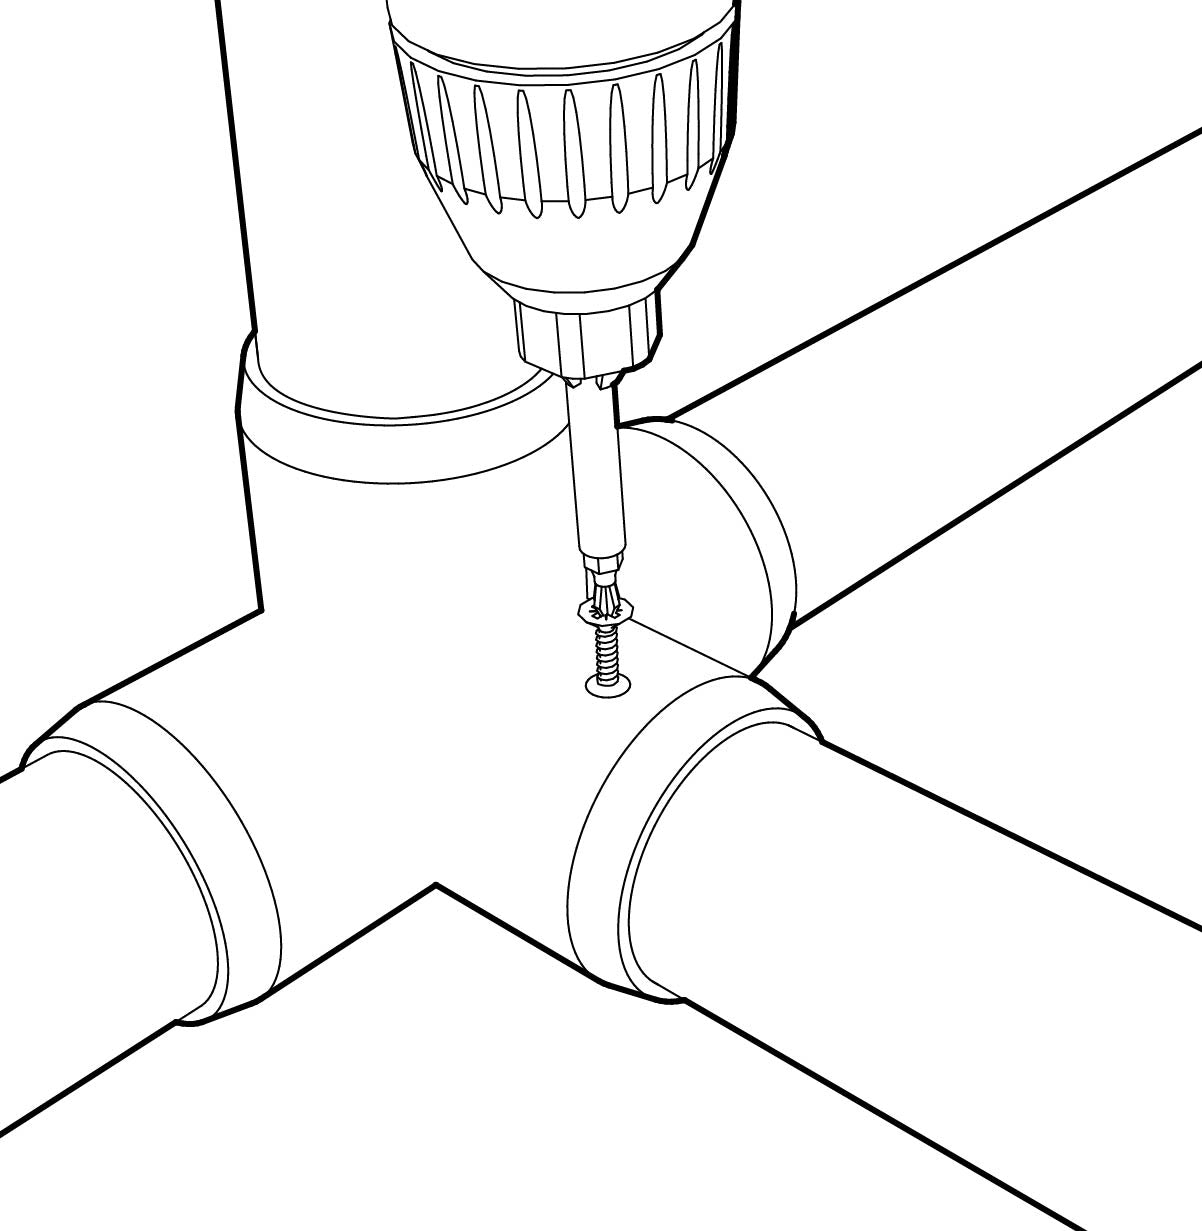
Add More Screws (Optional)
For a stronger joint, repeat steps 2 and 3 on the opposite side of the fitting. This adds reinforcement and lowers the risk of the joint loosening or breaking.
How to Assemble PVC Pipe with the Push-and-Set Method
Insert and Seat the Pipe
Insert the pipe into the fitting. Use a rubber mallet, or a piece of wood and a hammer, to tap the pipe until it is fully seated against the detent inside the fitting.
Check the Fit
Repeat for each joint in your project. If any pipe feels loose, secure it with PVC cement or screws.
Shop PVC Cement and Fasteners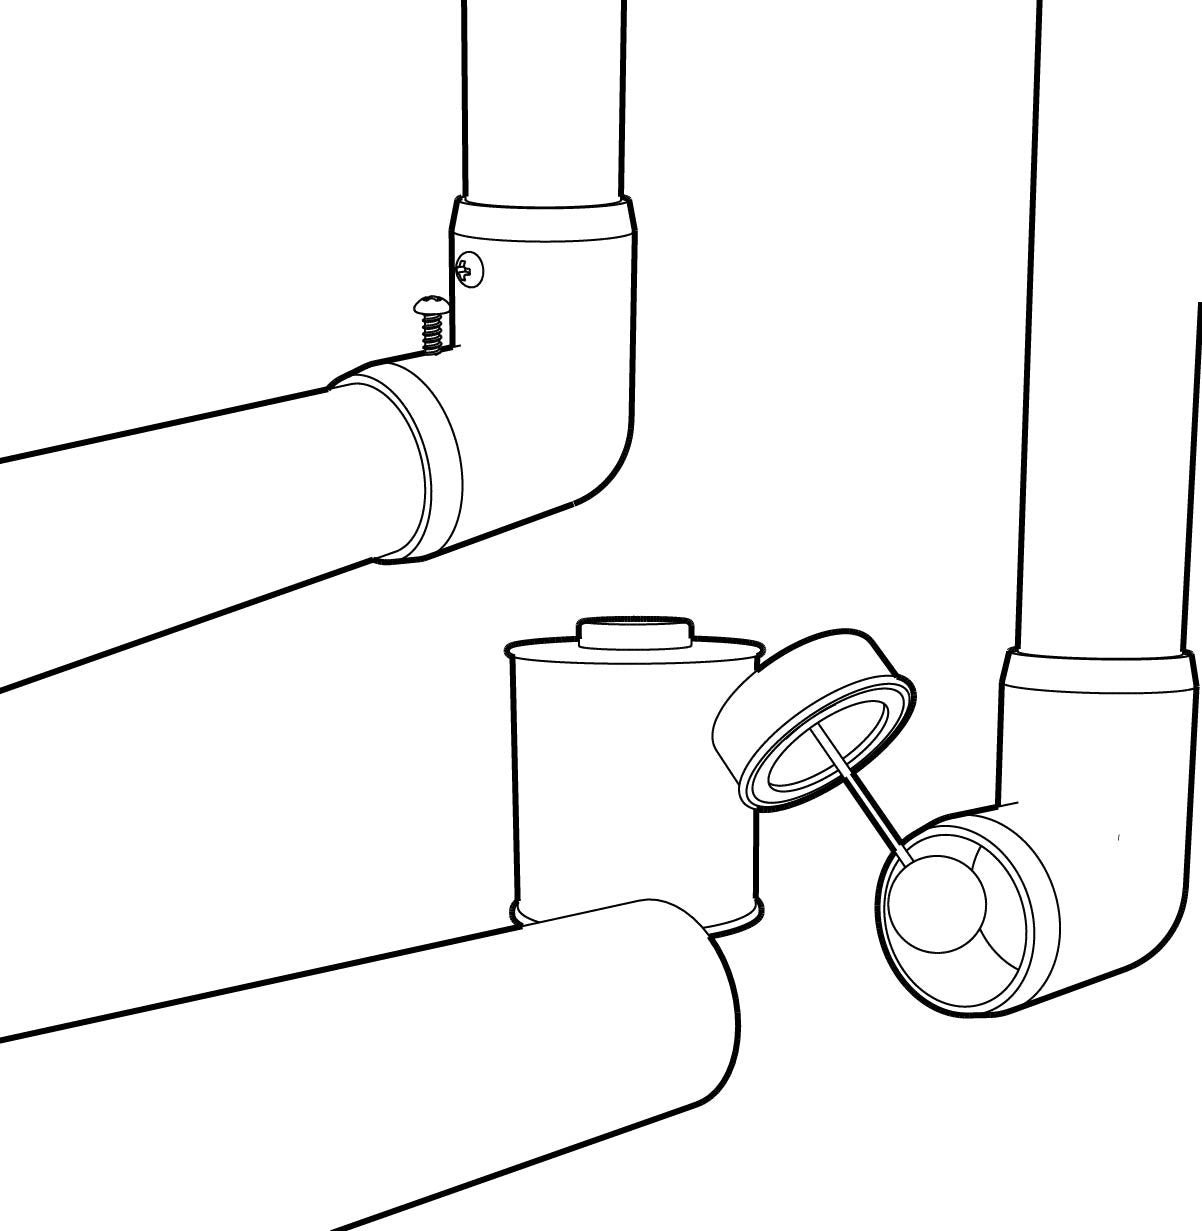
How to Take PVC Pipe Apart
How you take a joint apart depends on how you assembled it.
Push-and-Set and Dry-Fit Joints
Twist the pipe by hand or with a strap wrench while pulling it out of the fitting. When dry fitting, applying a bit of baby powder inside the fitting makes this easier.
Fastened Joints
Remove the screws or Quick Release Pins first, then twist the pipe out of the fitting.
Cemented Joints
A cemented joint is permanent and cannot be separated. To change it, cut the pipe close to the fitting and replace both pieces.
PVC Assembly Mistakes to Avoid
Most assembly problems come from a small number of mistakes. Avoid these to save time and pipe.
Skipping the Dry Fit
Cement sets in about 30 seconds, so a wrong pipe length or fitting position cannot be fixed. Always dry fit the full project first.
Using Primer
Most PVC primers stain and discolor the pipe. FORMUFIT does not recommend primer for furniture-grade projects.
Over-Tightening Screws
Driving a screw too tightly can crack the fitting or pipe. Tighten until the joint is secure, then stop.
Relying on Push-and-Set for Load
A push-and-set joint is temporary. Secure it with PVC cement or screws before the project carries weight or sees movement. To see how much weight different pipe sizes can support, see our PVC Pipe Load Guide.
Troubleshooting Common PVC Assembly Problems
| Problem | Likely Cause | Fix |
|---|---|---|
| The pipe will not seat fully in the fitting | Burrs or rough cut ends, or cement has started to set | Deburr the cut end and dry fit again. If cement is already applied, work quickly and tap the pipe to the detent. |
| The joint feels loose | Push-and-set fit tolerance, or a fastener that is missing or not fully driven | Secure the joint with PVC cement or screws. |
| The frame is out of square | Squareness was not checked before the cement set or before drilling | Check on a flat surface before cementing. For fastened joints, adjust the frame before driving the screw. |
| Cement ran or dripped onto the pipe | Too much cement applied | Apply only a small amount, only where the pipe and fitting touch, and keep cement off visible surfaces. |
| The pipe or fitting cracked at the screw | Screw over-tightened | Tighten only until the joint is secure. Replace the cracked piece. |
| A screw is loosening over time | High torque or repeated movement on a fastened joint | Use PVC cement for that joint, or add a second screw on the opposite side. |
| A joint was cemented in the wrong place | The dry fit was skipped | Cemented joints cannot be separated. Cut the pipe close to the fitting and replace both pieces. |
Frequently Asked Questions About Assembling PVC Pipe
It depends on your project. PVC cement is best for permanent, weight-bearing structures. Screws, PipeRivets, or Quick Release Pins are best when you may need to take the project apart. Push-and-set is best for temporary builds.
Yes. You can use screws, PipeRivets, or Quick Release Pins for a secure joint you can take apart, or the push-and-set method for a temporary connection. Push-and-set joints are not guaranteed to stay secure, so they should not carry weight.
PVC cement begins to set in about 30 seconds, so you need to hold the joint and make adjustments quickly. Allow at least 2 minutes before handling the joint, and a full 6 hours of cure time before it carries weight or load.
FORMUFIT does not recommend primer. Most primers stain and discolor the pipe.
No. PVC cement creates a permanent weld. To change a cemented joint, cut the pipe close to the fitting and replace both pieces. If you may want to take your project apart later, use screws, Quick Release Pins, or push-and-set instead.
Not always. A pilot hole is not required when you use self-drilling screws or drive the screw in forcefully. Without a pilot hole, a small mound of displaced material forms under the screw.
No. Push-and-set is always temporary, because variations in tolerance cannot guarantee a secure fit. Secure your joints with PVC cement or screws before the project carries weight or is moved.
A dry fit confirms that every pipe is cut to the correct length and every fitting is positioned correctly. It is essential before using PVC cement, because the cement sets in about 30 seconds and cannot be undone.
Have More Questions About Assembling PVC Pipe?
If we did not answer your question here, our support team is glad to help. Reach out through our Contact Us page, or browse all of our PVC how-to guides.
Disclaimer
The information in this guide is provided for general informational purposes only. FORMUFIT LC assumes no responsibility and disclaims all liability for any damage, loss, or injury arising from the use of, or reliance on, this information, including but not limited to loss of profits, business interruption, loss of opportunity, indirect, incidental, special, or consequential damages, personal injury, or loss of life.